The History of Salon Style Display
Few things make a statement as captivating as a well-designed wall of art or photos. But creating a photo wall display or collage art wall that can tell a story well, and not just appear as a hodge podge of mismatched shapes and colors without a clear focal point or theme, can present great challenges. Photo collages seem to have been around forever and are always popular, but actually the Salon Style of art arranging dates back to the 1670s, though it wasn't referred to as "Salon" yet.
At that time, the Académie royale de peinture et de sculpture (Royal Academy of Painting and Sculpture) began displaying the works of the academy's graduates. The Academy artwork pieces were mounted very close to one another and stacked vertically along the walls in art wall groupings. These displays became viewable in semi-public exhibitions. It wasn't until the 1730s that these exhibits were opened to the public. The term Salon originates from the annual or bi-annual art exhibit held in the "Salon Carré", which translates to the Square Room, at the Louvre in Paris, France. Thus, the Salon Style of arranging pictures was born. Until this time, art was for the privileged class. With art now viewable by the masses, art appreciation spread through the public, and ultimately changed how art was viewed, perceived, and even the type of subjects used in art.
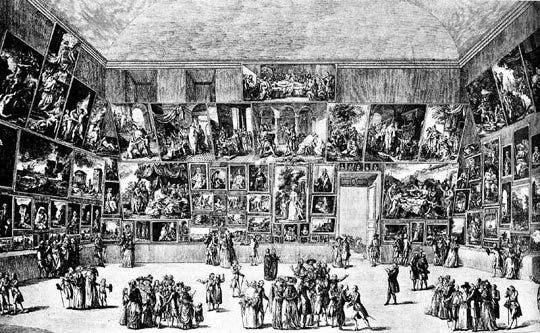
Salon of 1785 by Pietro Antonio Martini, at the Biblioteque Nationale
For more historical context on the subject, there is a nicely prepared article here.
What does this have to do with art hanging systems? While this salon style of displaying art and photos has stayed in favor for centuries, unfortunately so has the approach in which the subjects are hung. This very practiced approach to hanging a salon style wall arrangement most often refers to following these steps, or something very similar:
- Gather the items you plan to include in your arrangement.
- Using a large sheet of kraft paper (or grocery bags), place each item on the paper, then trace around the items individually.
- Remove the objects and cut out the tracings.
- Tape the paper cutouts to the wall in an arrangement to your liking. Rearrange the shapes until a final layout is reached.
- Hold the actual piece to the paper representation, then mark where the nail hole should be. Repeat with each item.
- Hammer the nails accordingly, then remove the paper cutouts.
- Hang the art or photos and hope that all is correct.
I've even seen it suggested regularly to simply lay out on the floor all the pieces to be hung, move them into an appealing design, then beginning from one edge of the wall area to be used, start hanging them to match the design laid out on the floor as closely as possible. This screams of inevitable mistakes right from the beginning.
These approaches become a huge labor that may result in a successful display or perhaps not, and it is time consuming.
What if you find another photograph that you want to include? What if you need to remove a piece from the grouping once it's been hung? Now the entire display becomes upset and fractured.
Keep in mind that adding, removing, or shifting will cause your display wall to now reveal the nail holes of prior placements that need to be patched and painted before the above mentioned steps can even begin again. Ugggh!
And it works seamlessly every time, whether you're hanging art pieces, photographs, objects, or a wonderful combination of each ... from the first display to every adjustment thereafter. And, no subsequent change requires even one tool.
By following a few simple steps, you can achieve just the look you're hoping for every time, while also gaining the prerogative to change your mind ... as often as you like. Hanging wall art will be easy and fast.
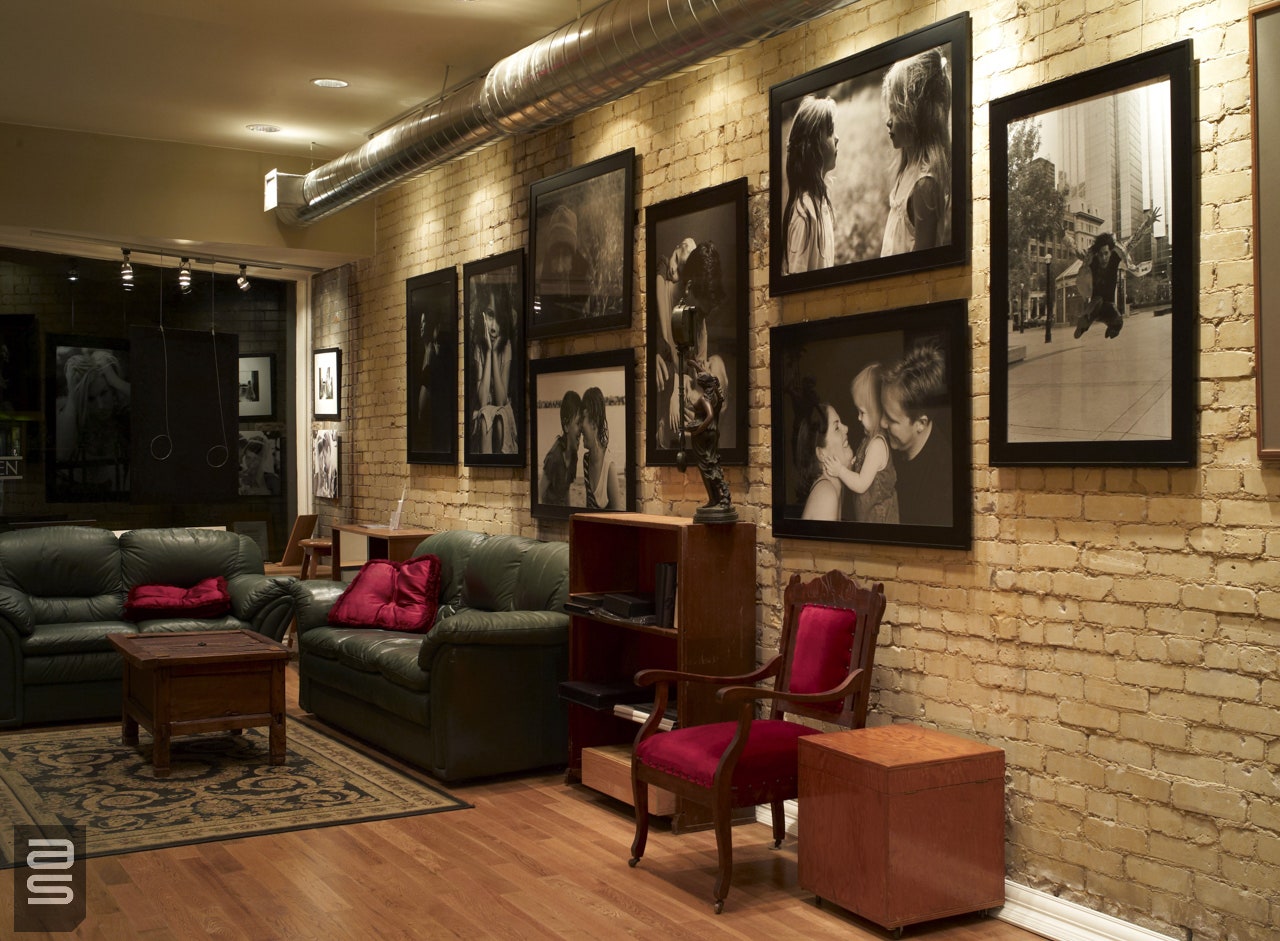
Note in this picture, the wall surface is brick. Creating collage wall art is not a problem on this otherwise problematic surface. This installation using a cable based system.
Integrating art hanging systems offers endless possibilities for a salon style or photo wall display.
That's freedom!
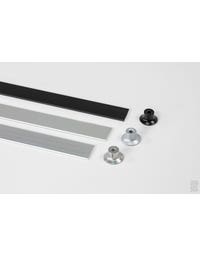
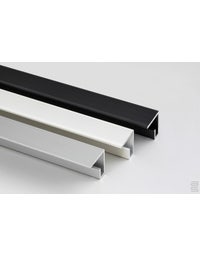
Picture hanging systems implement the use of a track system. A length of track is affixed to the wall or ceiling and runs the length of the entire wall.
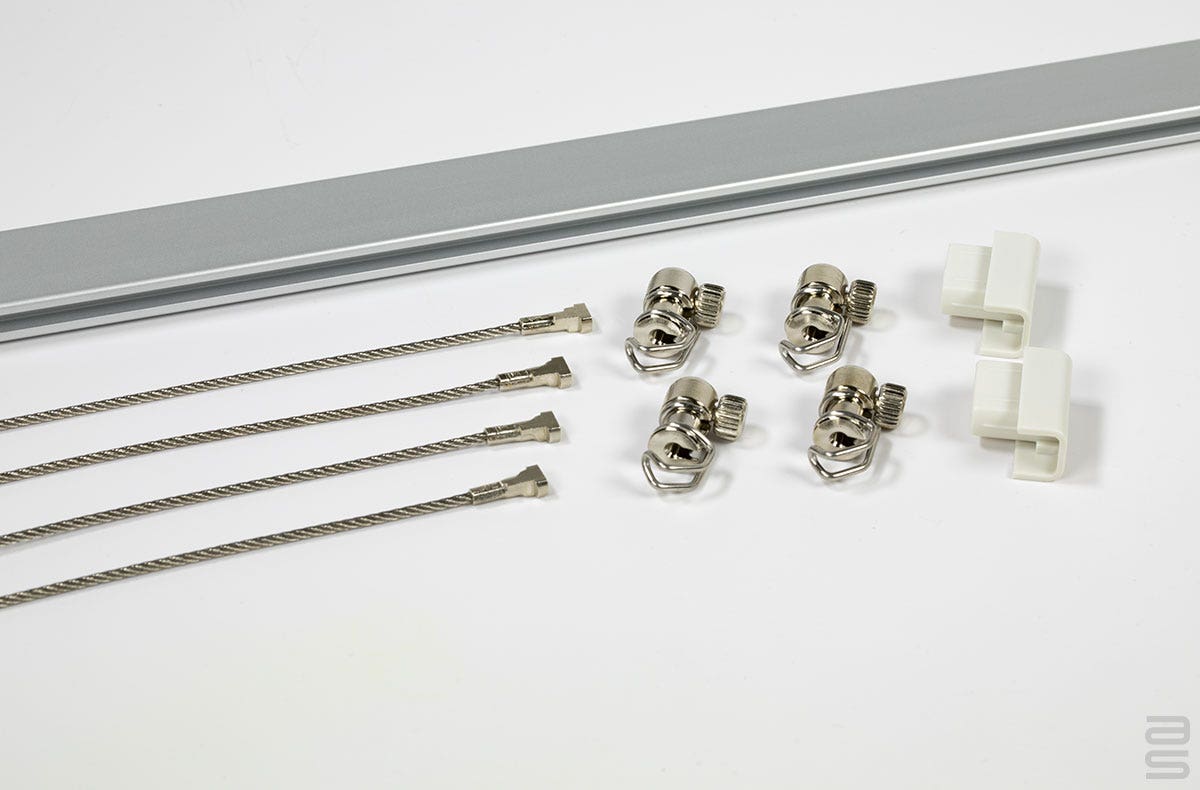
Cables or Rods are suspended from the track. These cables are fitted with hooks from which the items will hang.
This combination of fittings will allow the user almost infinite adjustment in both a left/right and up/down axis.
No Nails, No Holes
Multiple hooks can be attached to the cables, allowing for more than one object to be placed along that vertical line. A single hook and object can be hung on a single cable as well. Likewise, any number of cables can be implemented.
When an item needs to be moved, removed, or introduced, the change is simple. Decide where in the wall arrangement the change needs to be made, then redistribute the items along that cable, introduce a new cable, hook, and item, and slide the existing cables left or right accordingly, etc. Or, start over with a completely new wall grouping design - because now you can.
NO nails, holes, patchwork, kraft paper, etc., for hanging wall display.
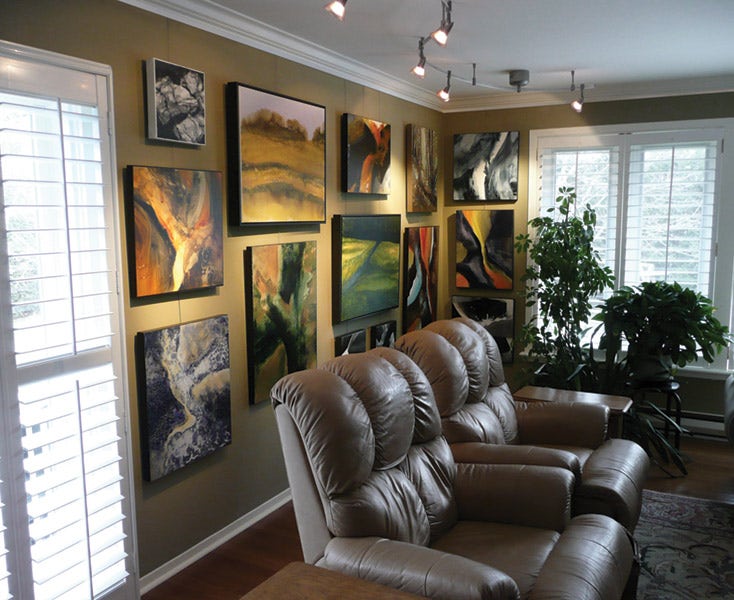
This artist uses Click Rail Track at home to create a handsome wall grouping while also allowing the flexibility to change out the art when one is sold or a new piece is added.
Wall Hanging Systems
While the ease of a track-based system is clear, to create a cohesive and eye-appealing display, it is always helpful to follow certain basic guidelines. Here are some examples of salon style wall displays using a track-based hanging system.
AS Hanging offers the most functional and flexible Wall Mounted Picture Hanging Systems. Hang and display picture frames, panels, wall decor, and objects in any space, on any walls. No more nails.
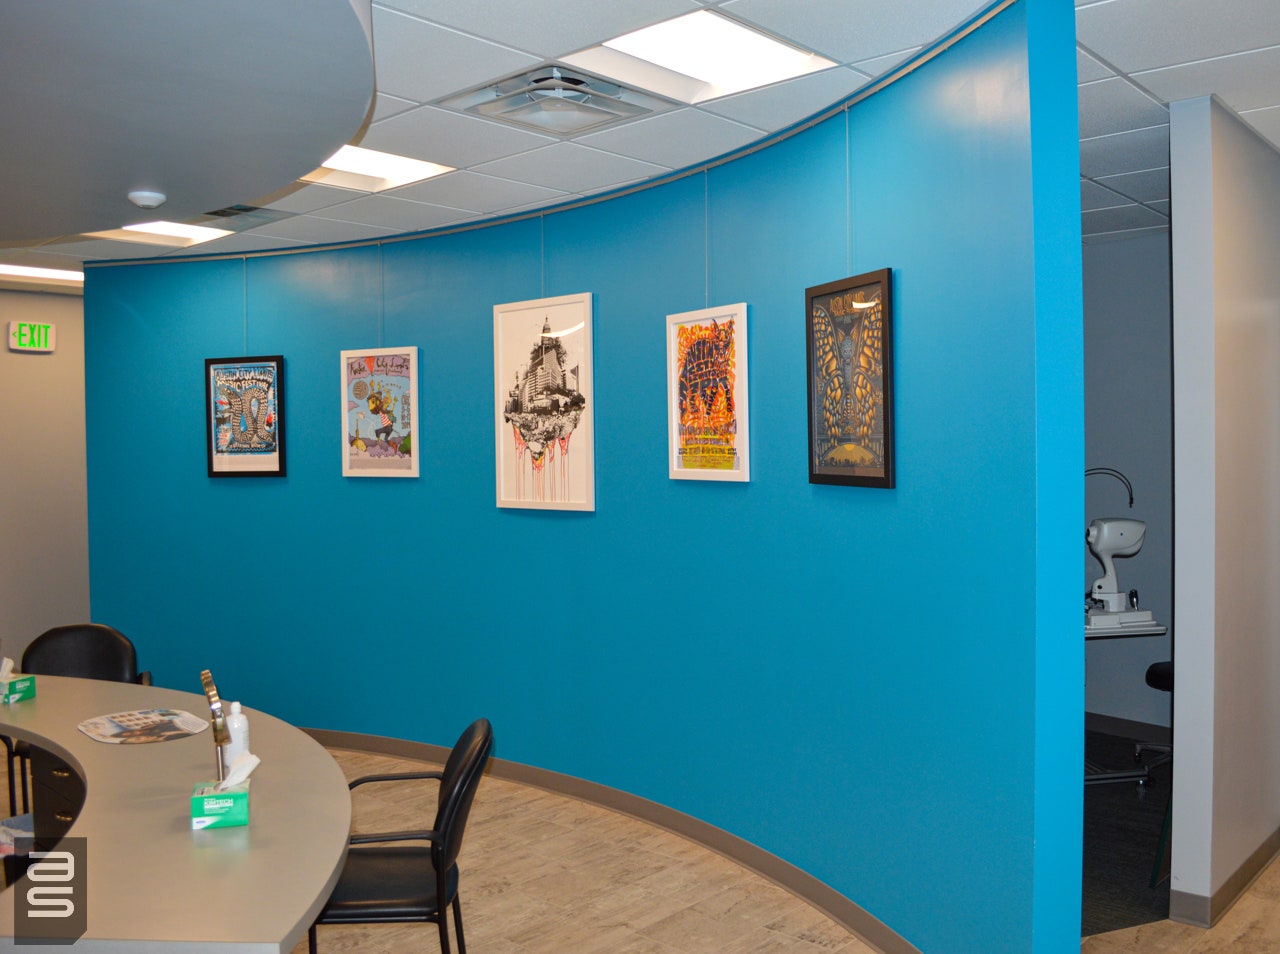
This display takes us back to the roots of the salon display principals. Because of their extreme ease of use, rods were deployed in this commercial application.
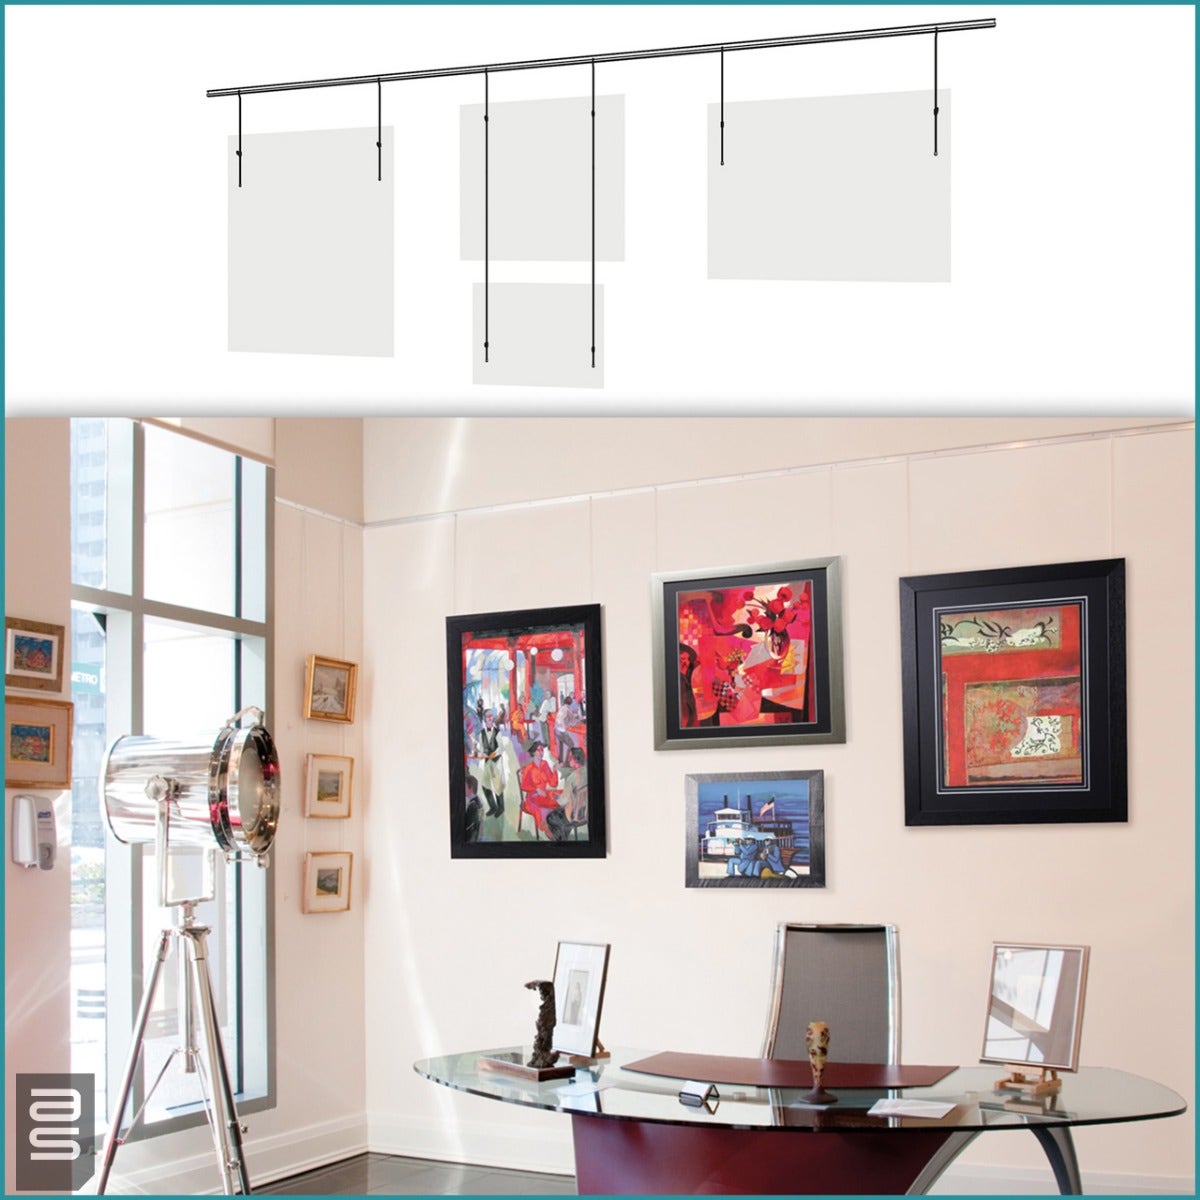
This picture shows how art hanging systems such as our Contempo® Track as equally adept at displaying items in clean contemporary layouts as well. This hanging wall display is modern and trendy.
As you can see in all of these images, the picture hanging hardware disappears into the background.
Applying basic design principles, and implementing picture hanging systems that provides versatility, beauty, and functionality, brings the process of arranging wall groupings into the 21st century.
A perfect blend of classic, timeless Salon Style wall arrangements using modern technology.

